
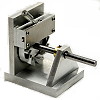
Click on the image for a larger view.
Click here for a super detailed view.
Click on the image for a larger view.
Click here for a super detailed view.
| Main Page and Introduction | Head Button Construction |
| Head Construction | Jet Construction |
| Body Construction | Final Assembly and Operation |
Introduction:
Hero or Heron of
Alexandria is credited with the first written record of a steam engine
between 10 and 70 A.D. Hero's Aeolipile is actually a
reaction steam turbine. In a reaction steam turbine, the steam is ejected from
several jets, which operate like little jet or rocket engines. (The other type
of turbine, an impulse turbine, operates by blowing the steam against a turbine
blade, much as the air blows against a windmill.)
The reaction turbine is a beautiful example of Newton's Third Law of Motion, the Law of Action and Reaction. Models of Hero's engine can be found in a variety of places on the web. Kenyon College has a nice collection of Hero engines, and NASA has the instructions for a Hero engine made from a soda pop can on their web site.
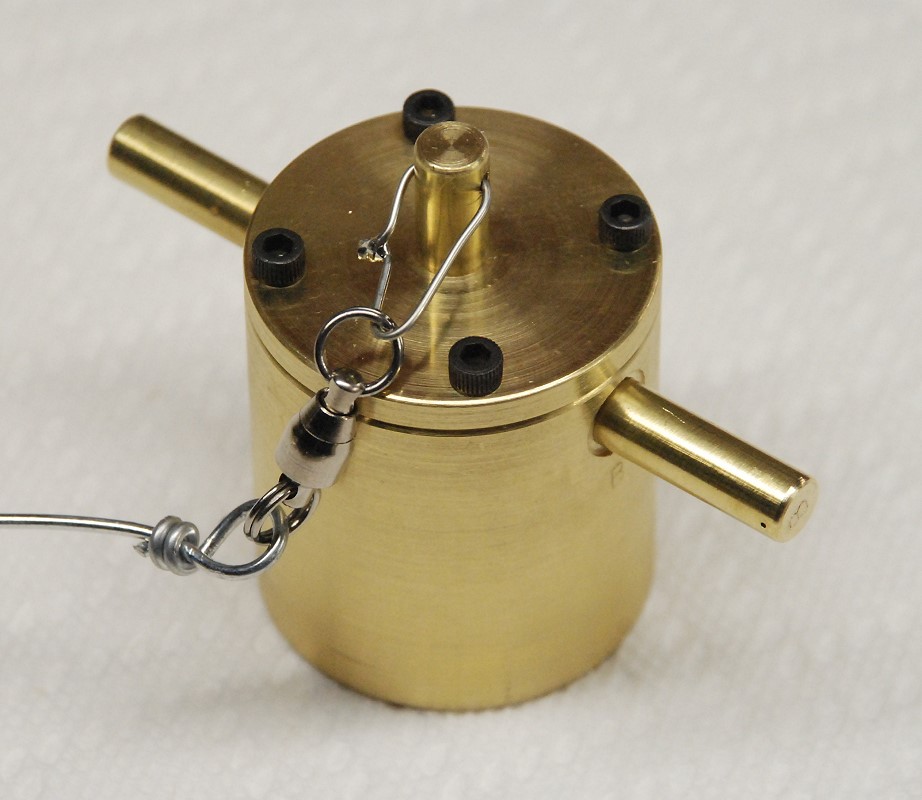
Having built a variety of reciprocating steam engines, I decided it would be nice to design and build my own Hero steam engine. I wanted the engine to be more elegant than some others I had seen, and I wanted it to have interchangeable jets so I could study the effect of jet size on the operation of the engine. I also wanted it to be able to actually build up a head of steam, so that it would continue to operate for a short time after it was removed from its source of heat.
The resulting engine and its construction is detailed in these pages. The engine is made out of brass because brass is denser than aluminum, and the extra heat capacity of the brass allows the engine to continue to run after being removed from the source of heat. (The engine can be made out aluminum if brass is too expensive or too hard to obtain.) Interchangeable brass jets screw into the sides of the engine. The engine is supported by a stainless steel ball bearing fishing spinner, and runs nicely on the heat from an alcohol burner, propane torch, or Bunsen burner. A lathe and milling machine are needed to build the engine, though one could probably use a drill press in place of the milling machine. Below is a picture of the finished engine. I had a lot of fun designing and building the engine. I hope you enjoy reading about it, and I hope you will try building your own.
Click on the image for a larger view.
Click here for a super detailed view.
©Copyright Statement:
All images, designs, and materials on these web pages are the property of
Gregory P. Latta and are ©2008 by Gregory P. Latta. You may use them for
personal purposes and for educational purposes, but any commercial or other use
is strictly prohibited unless written permission is obtained from the author.
Disclaimer:
Opinions expressed are those of the author or the quoted source. The author is
not an employee of or agent for any of the vendors referenced in the text and
does not sell or represent any of the products discussed. Vendors may provide
products for review purposes and may provide sponsored support through
advertising or links. No information provided herein represents professional
advice or best practices. All information is provided to help the reader gain a
better understanding of the tools and techniques described. Considerable care
has been exercised to provide accurate and timely information. However the
author cannot be responsible for information which is incorrect or out of date.
Power tools and shop practices can be dangerous if used carelessly or
improperly - always take proper safety precautions such as wearing protective
eyewear and appropriate clothing. All practices, procedures, modifications and
product recommendations described herein are to be used at the discretion and
risk of the reader.
 Back to Dr. Greg Latta's
Model Engineering and Mechanical Engineering Pages
Back to Dr. Greg Latta's
Model Engineering and Mechanical Engineering Pages
Back to Greg Latta on the World Wide Web
 If you have any questions or
comments, you can send E-Mail to Dr. Greg Latta at
glatta@frostburg.edu
If you have any questions or
comments, you can send E-Mail to Dr. Greg Latta at
glatta@frostburg.edu