Click on the image for a larger view.
Click on the image for a larger view.
| 6x2C Crystal Controlled Converter - Main Page and Exterior Photos | Interior Photos |
| How To Operate The 6x2C Converter | Alignment and Voltage Table |
| Schematic Diagram and Circuit Descriptions | Mechanical Construction |
| Parts and Construction | Choosing Crystal Frequencies |
Introduction:
The 6x2C chassis was built using a technique I learned many years ago from Jim
Trutko, W8EXI, now a silent key. In 2000 I acquired a lot of Jim's homebrew
equipment when he moved out of his house into a senior living center. Jim
worked at Goodyear Aerospace and had their help in making the chassis for much
of his homebrew gear. I copied that method of construction and over the years I
used it on many of my own projects. In May of 2023 I gave an invited talk on
the technique called "Aluminum Chassis Construction" at the
QRP-ARCI Four Days In May (FDIM)
conference as part of the 2023 Hamvention. I used the construction of the
chassis for the 6x2C converter as an integral part of that presentation. The
presentation is available below as a .pdf file and contains all of the
information you will need to make the chassis as shown in the pictures below.
You will need Adobe Acrobat or another compatible reader to view the file. The
materials and tools needed to make a chassis like this are readily available.
| Chassis and
Sides: "Aluminum Chassis
Construction" |
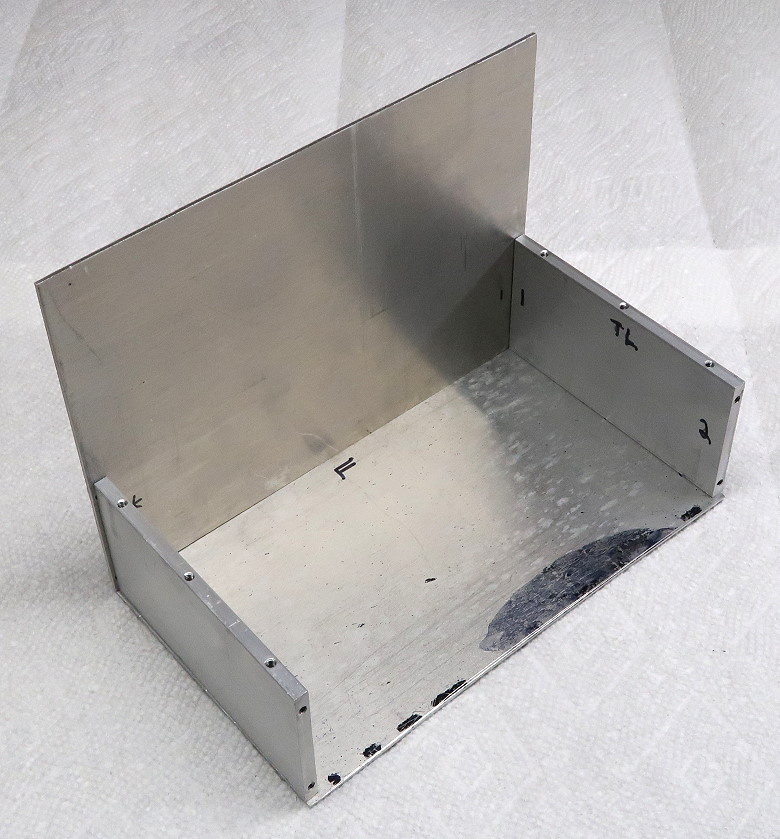 Chassis and Sides Click on the image for a larger view. |
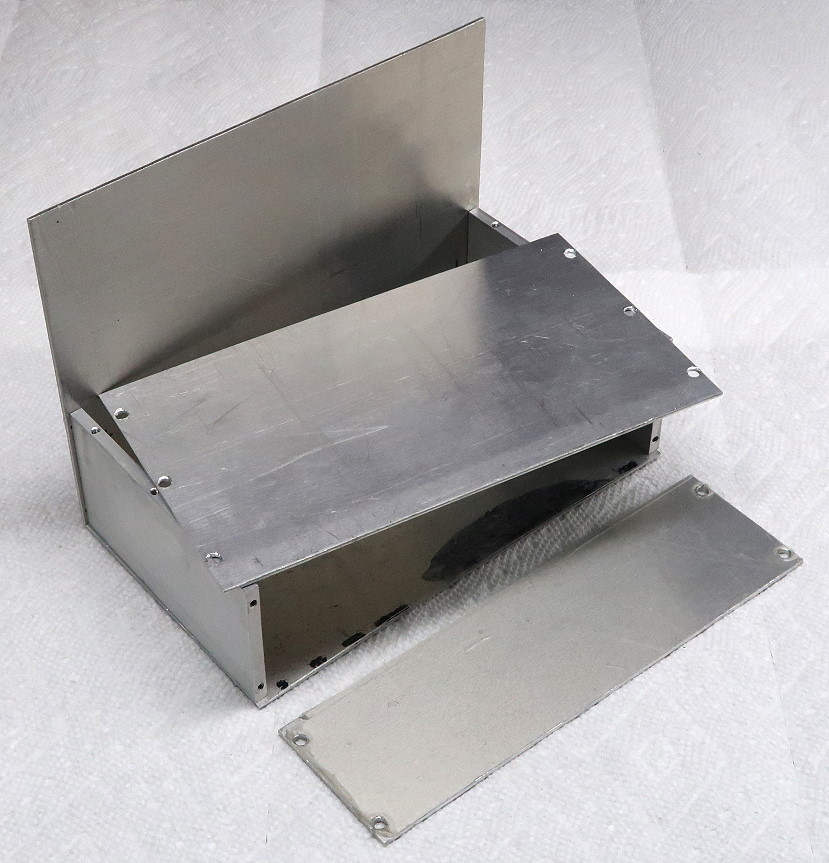
| Chassis and Panels: "Aluminum Chassis
Construction" |
Chassis and Panels Click on the image for a larger view. |
| Completed Chassis: "Aluminum Chassis
Construction" |
 Completed Chassis Click on the image for a larger view. |
 Back to Dr. Greg Latta's
Electrical Engineering and Amateur Radio Pages
Back to Dr. Greg Latta's
Electrical Engineering and Amateur Radio Pages
 If you have any questions or
comments, you can send E-Mail to Dr. Greg Latta at
glatta@frostburg.edu
If you have any questions or
comments, you can send E-Mail to Dr. Greg Latta at
glatta@frostburg.edu